|
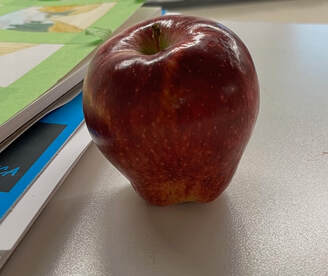
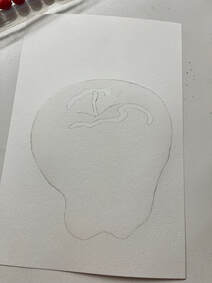
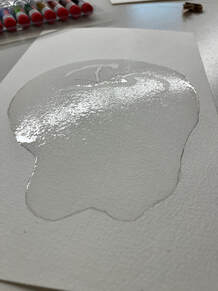
This week I decided to work on some still life watercolour portraits! When first looking into it, it looked super intimidating, but slowly I built up confidence to actually try it. I used two techniques that corresponded with two different YouTube tutorials.
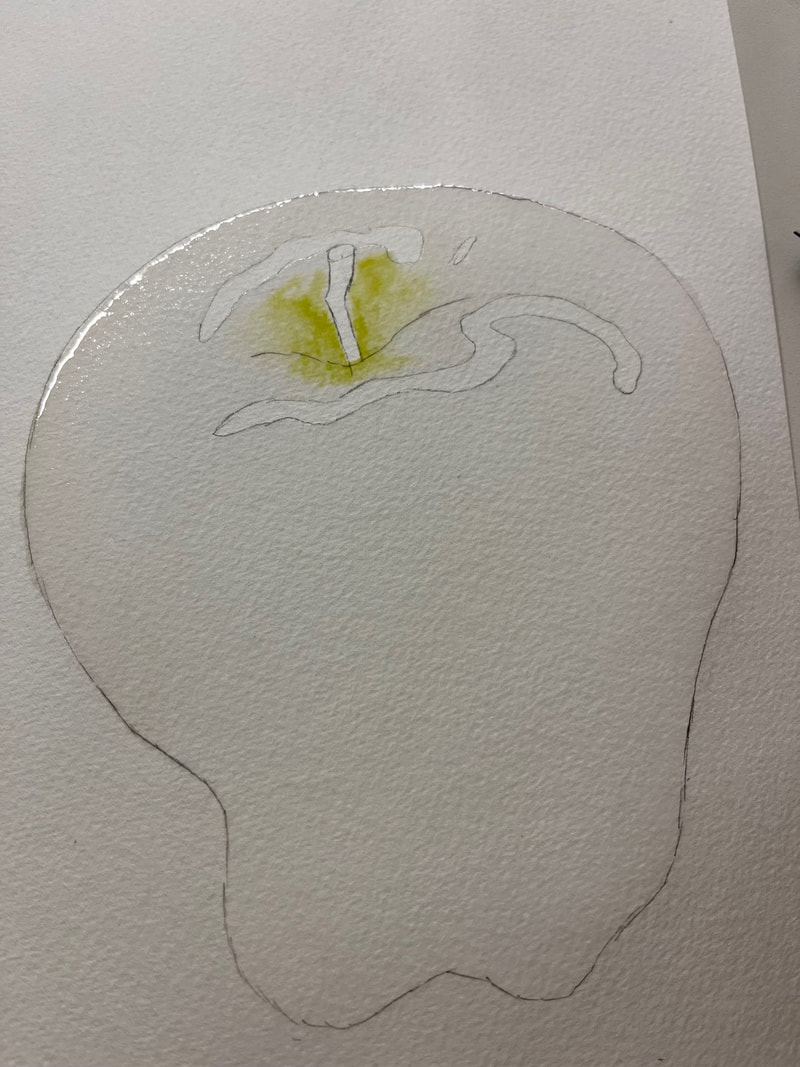
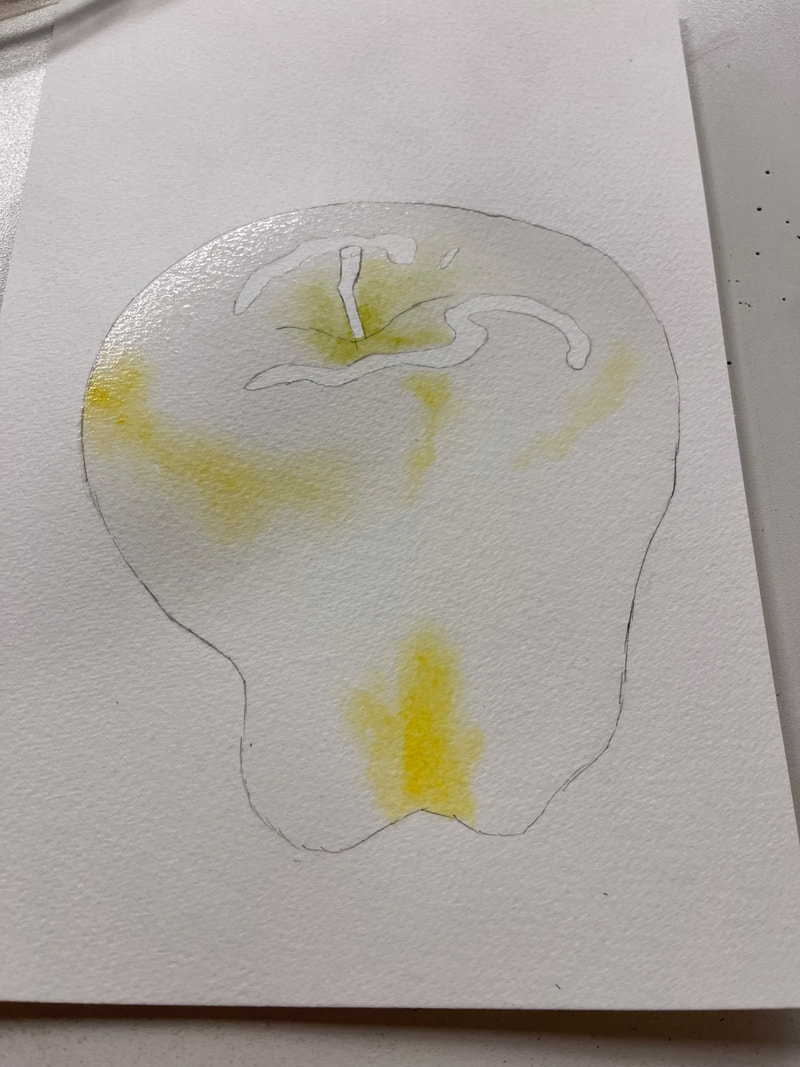
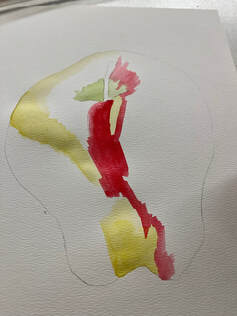
It was FINALLY time to add colour, I was extremely nervous and didn't want to mess up. Following the steps I started with the lightest colours, lime green, and yellow. I picked up water with my brush, wet the pigment to created a paint, and made sure there was less paint then water on the brush to create a light, and subtle colour. I placed them in their dedicated spots, smudged them around with the paint brush and then picked up the page so the water would move the colour around on my page.
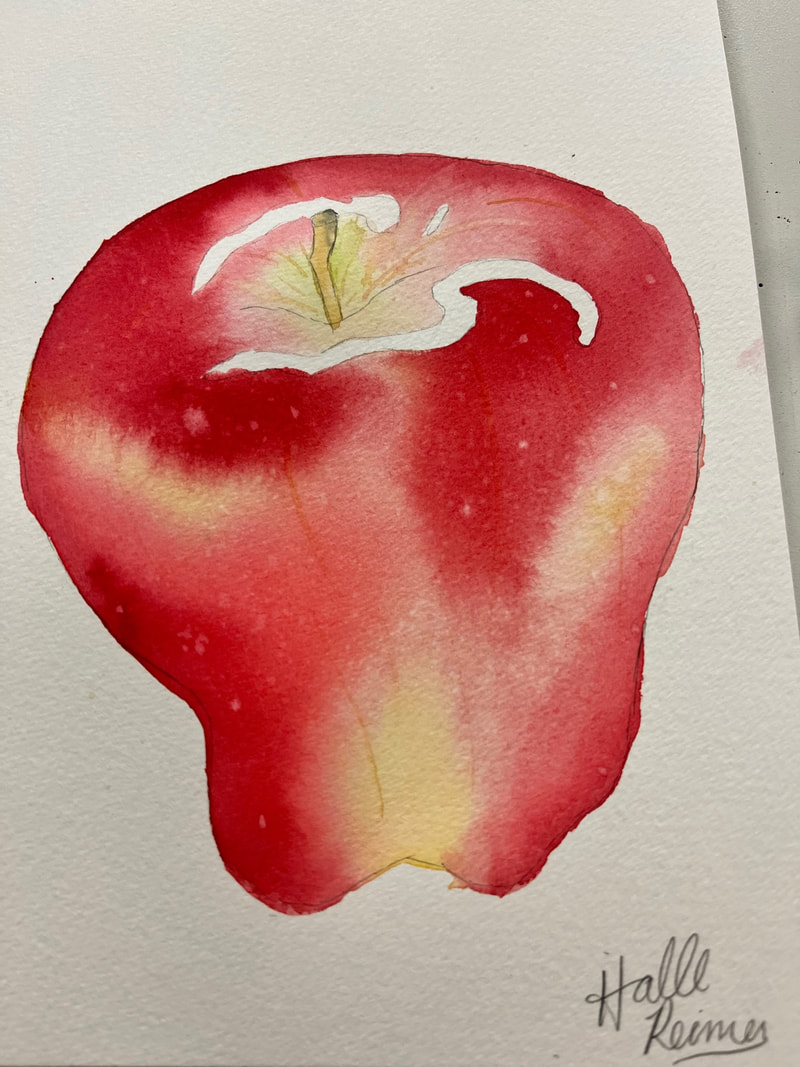
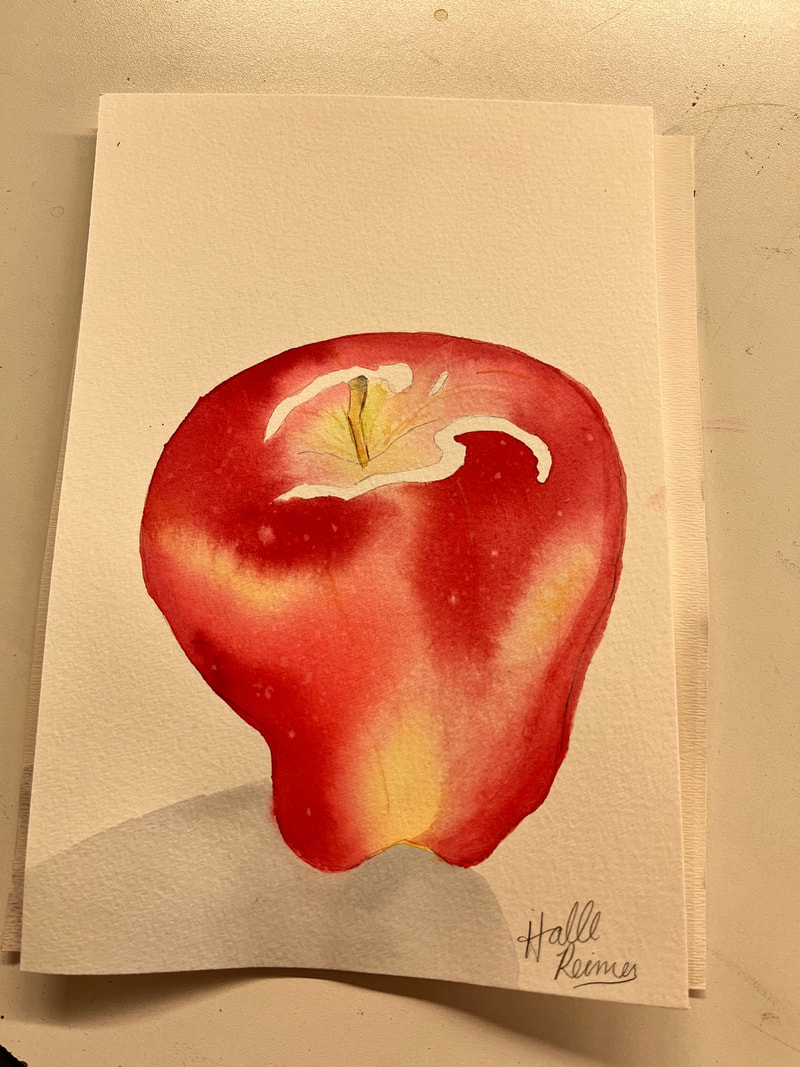
Finishing steps were to add details. This meant painting the stem of the apple, adding the spots, cleaning up the lines, and adding a shadow.
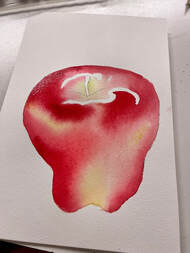
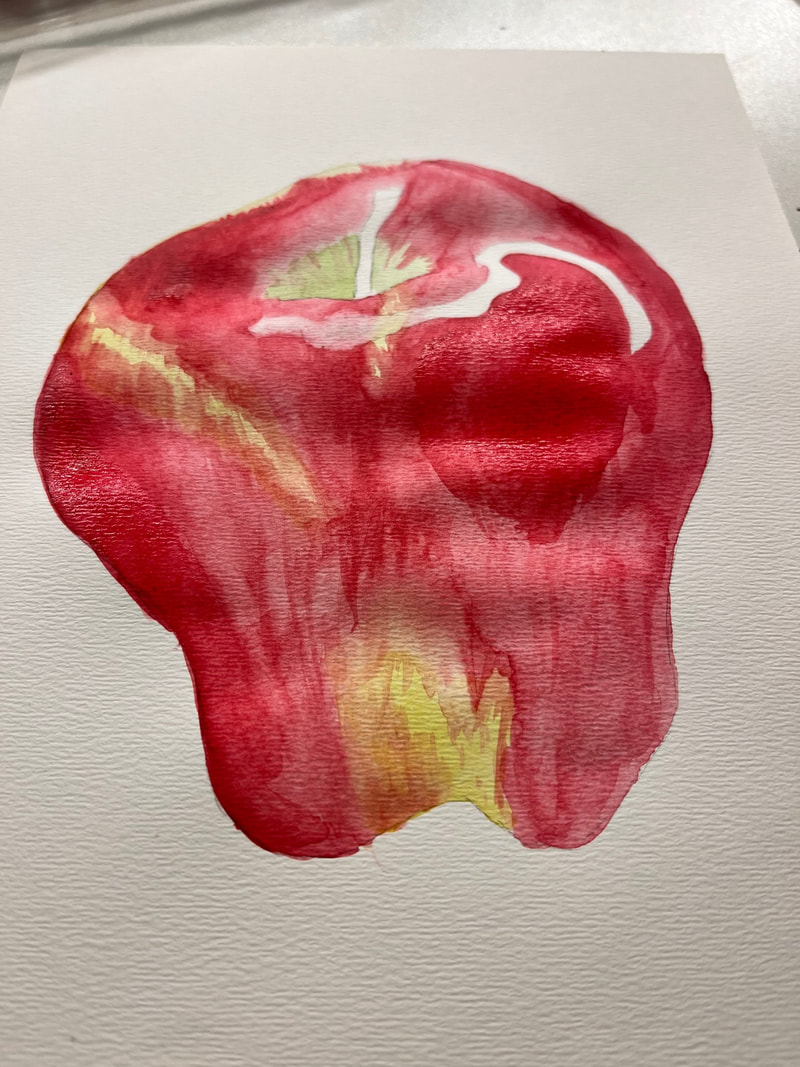
Now for the wet on dry technique. LET ME TELL YOU, this was much harder than wet on wet. I found it much harder to blend it, much harder to make everything even as I felt like everything was drying very quickly. Maybe that was my fault cause I was definitely using a much smaller brush so it probably wasn't able to hold nearly as much water or paint.
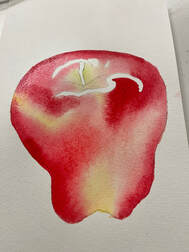
I once again started with the lighter colours, green and yellow. Looking back, I am wondering if maybe I used more pigment, and less water than I should have. But hey, this is a LEARNING project, it's okay to make mistakes. After the light colours, I once again moved onto the red. I had a heck of a time blending colours once they dried, and attempted to re-wet the colour already on the paper, this kind of just picked up the paint and made it look blotchy.
0 Comments
Leave a Reply. |
Halle ReimerThis blog page is where I will document and reflect on my personal learning project. Here I will tell you my initial knowledge of watercolour paint and, in time, what I have learned over the course of the next few weeks I spend working on my watercolour paint skills. |
 RSS Feed
